- Panels: 11x Suniva 335 Watt Solar Panels
- Panels: 26x Suniva 280 Watt Solar Panels
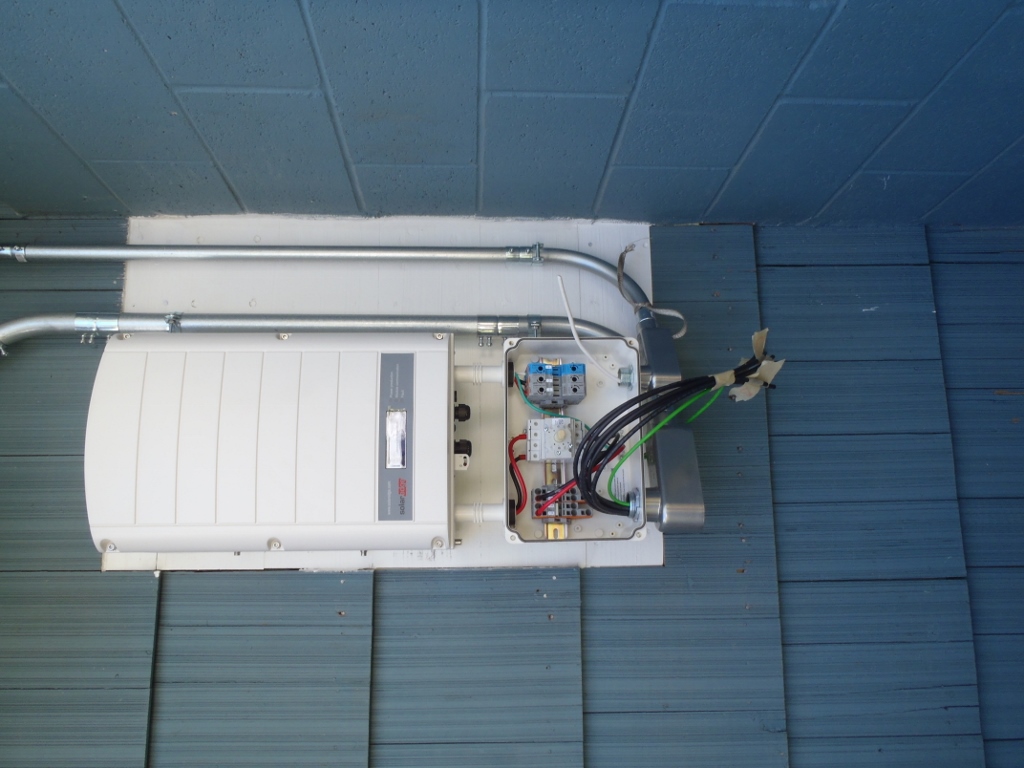
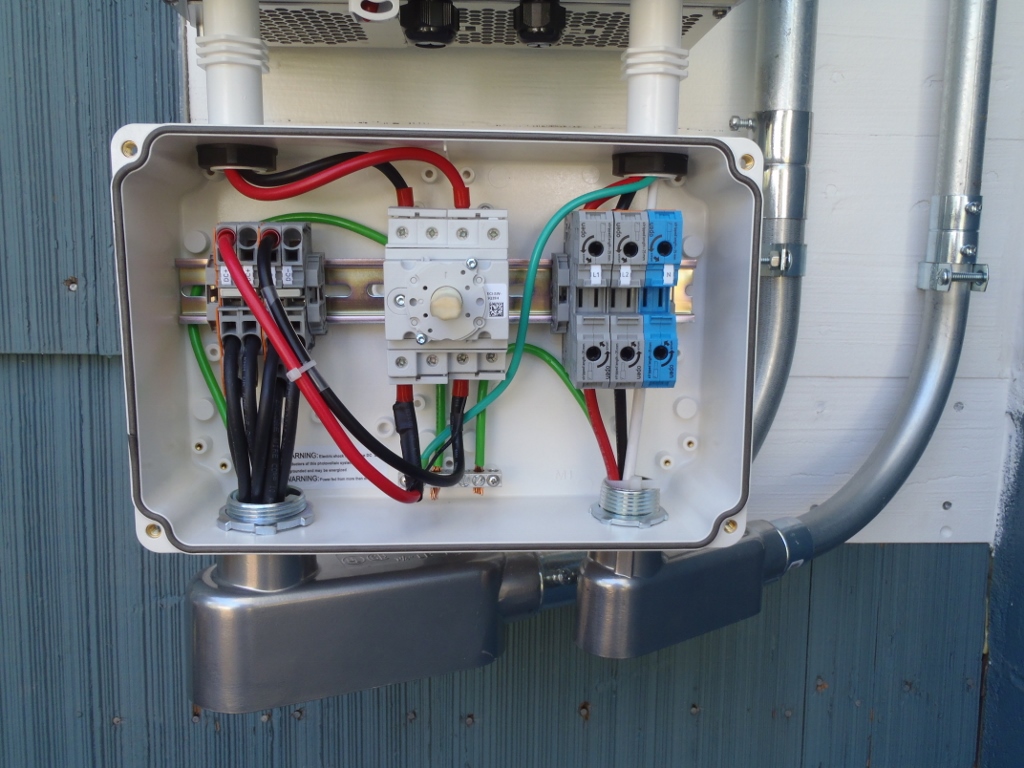
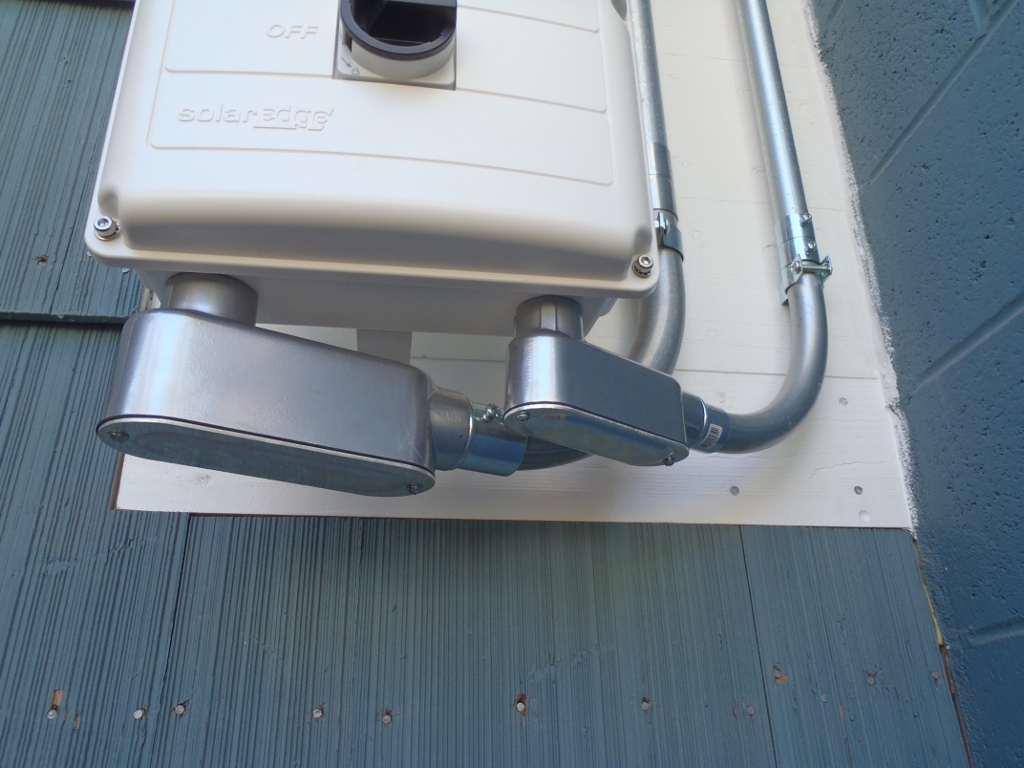
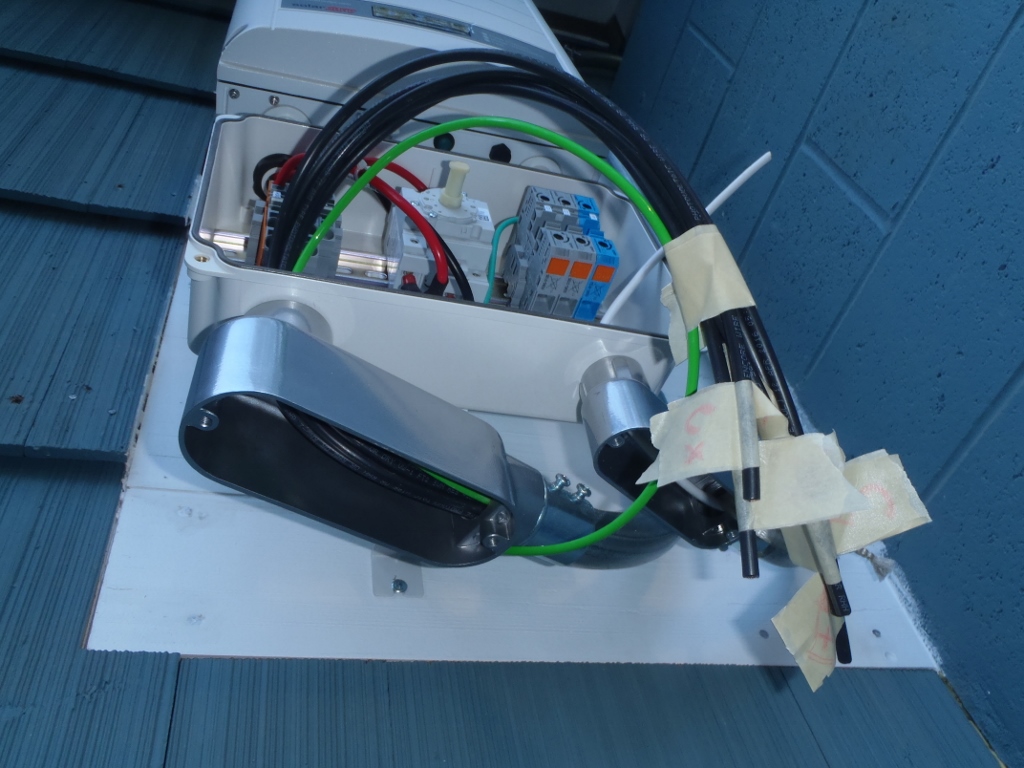
- Inverter: SolarEdge 10KW Grid-Tied Inverter
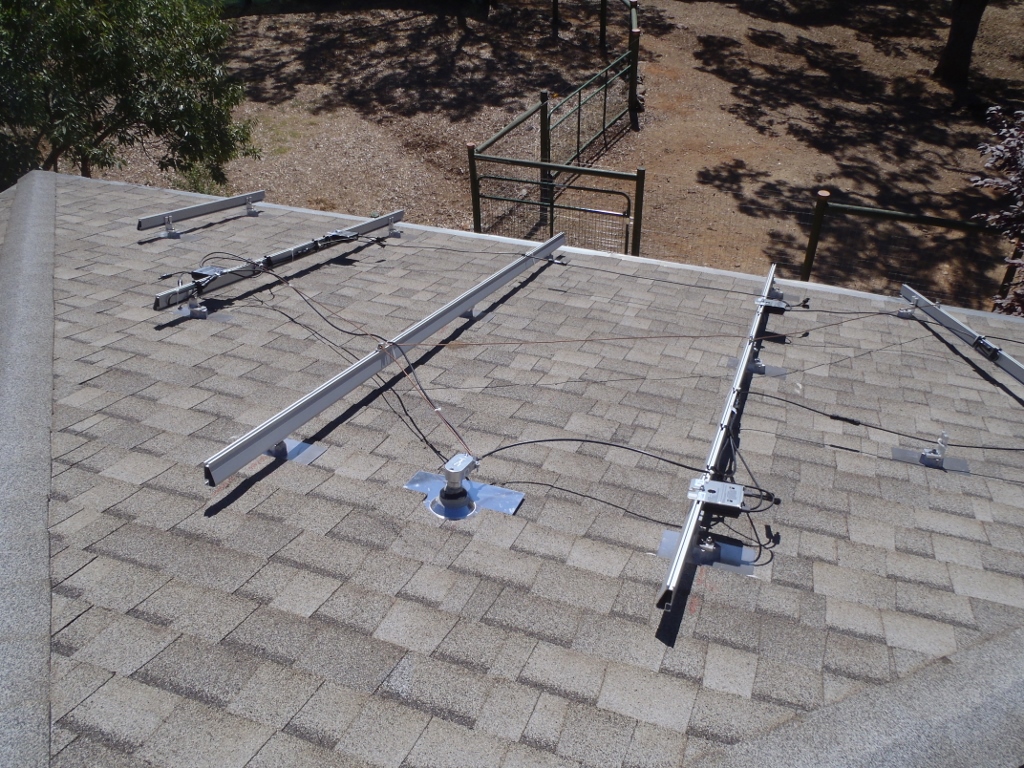
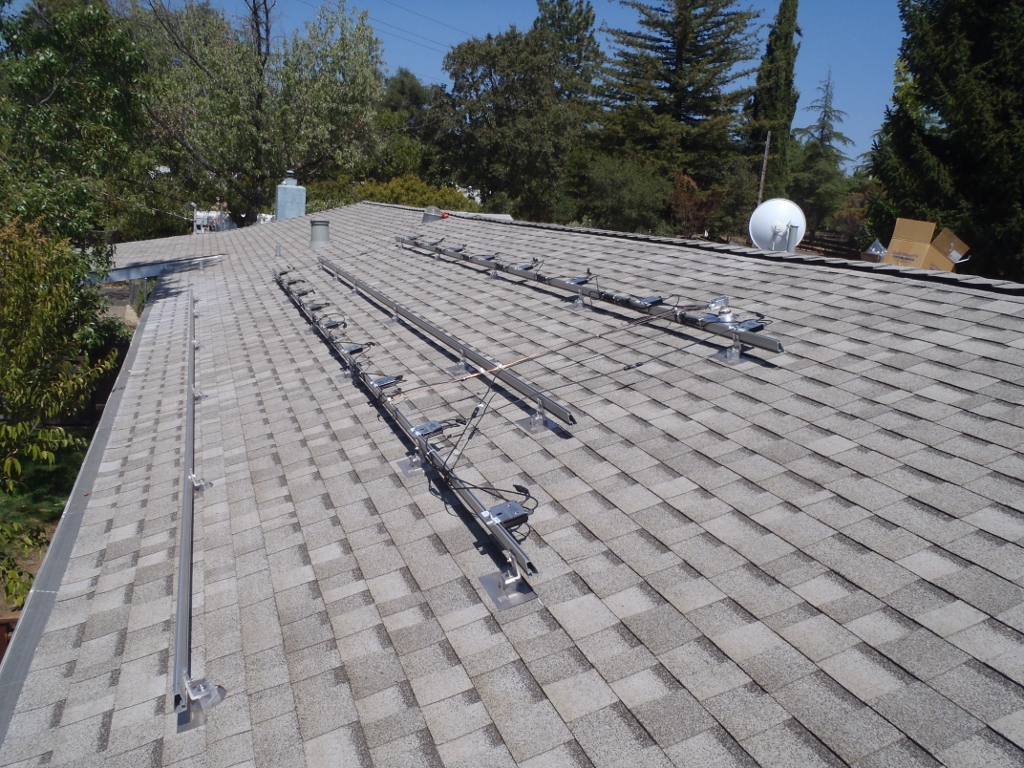
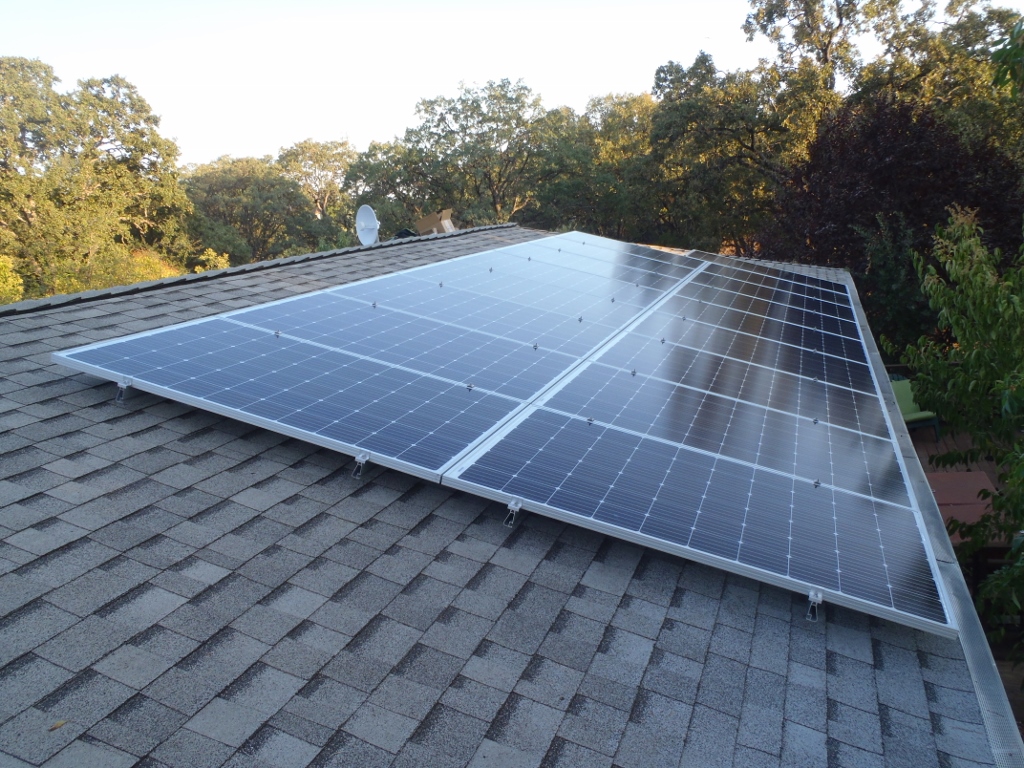
- Racking: IronRidge Racking
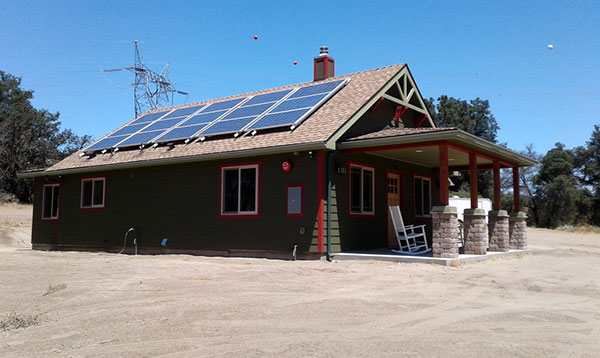
- System Size: 10.82 kW
- Yearly System Output: 17,975 kWh per year
- Federal Tax Incentive: Qualifies for $4,752 Federal tax credit
- Utility Rates: 13 cents/kWh

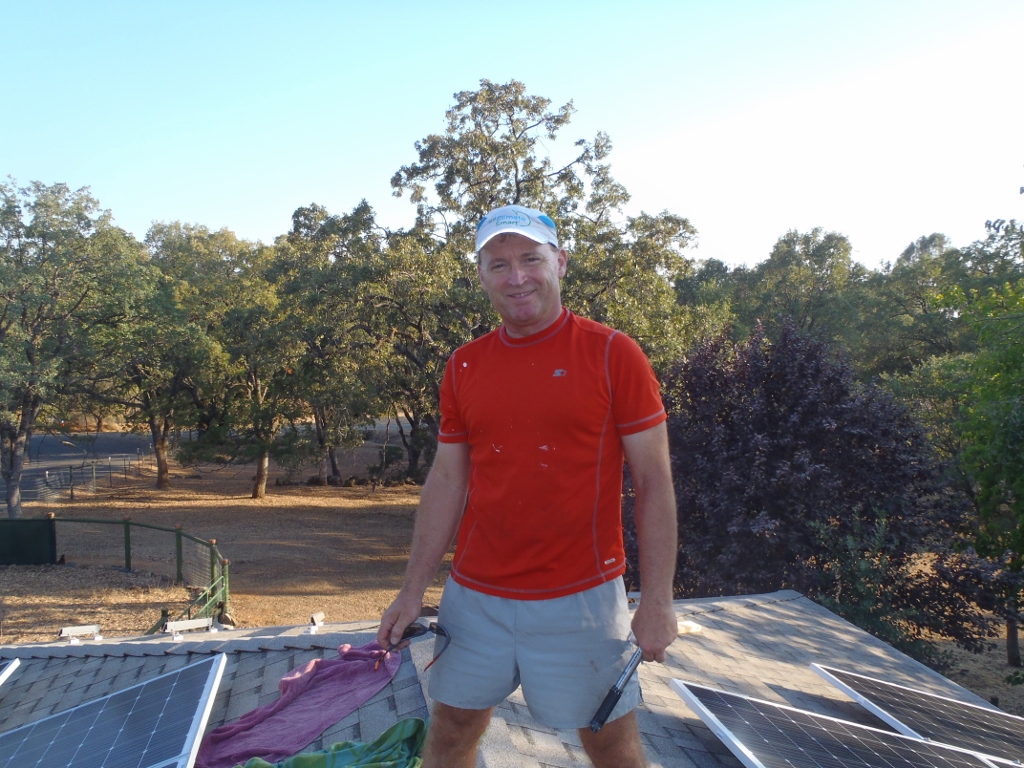

“Best Decision Ever!” with Martin S.
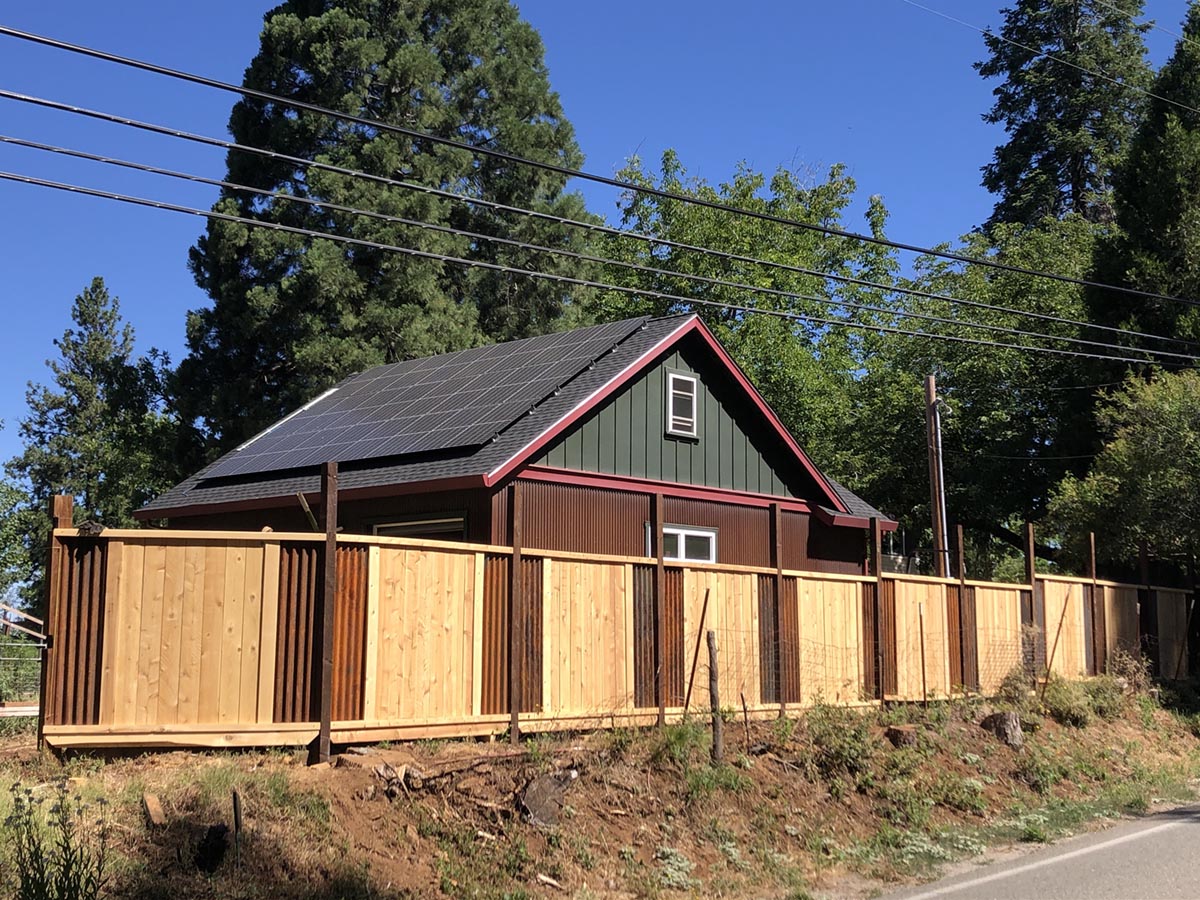
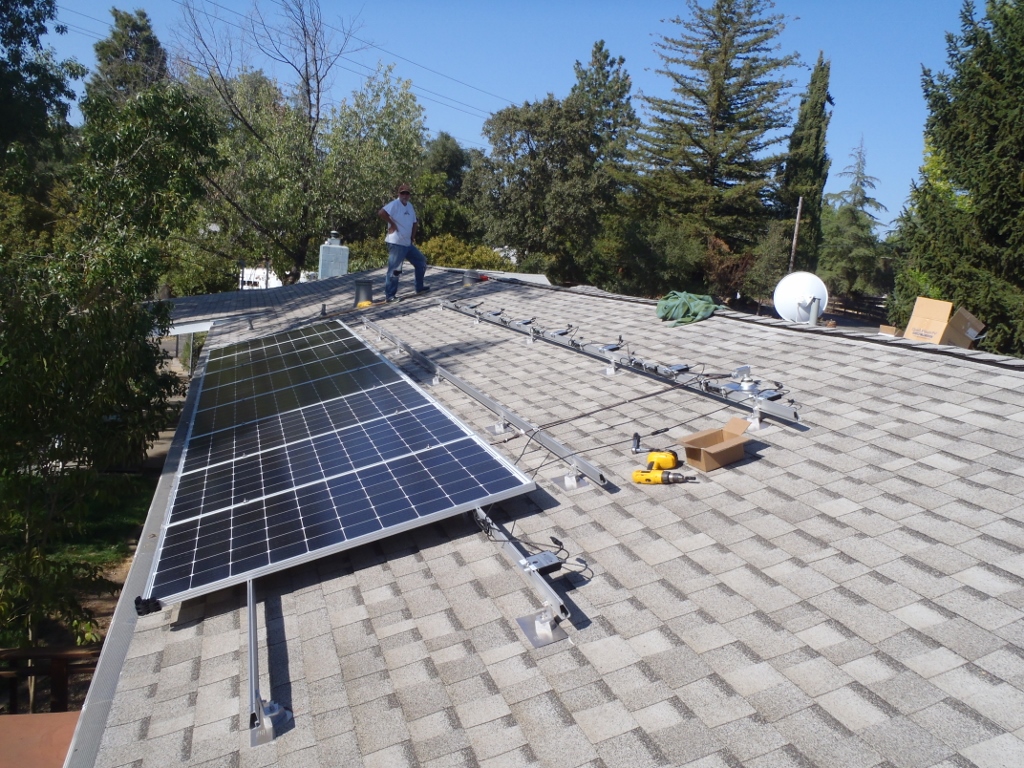
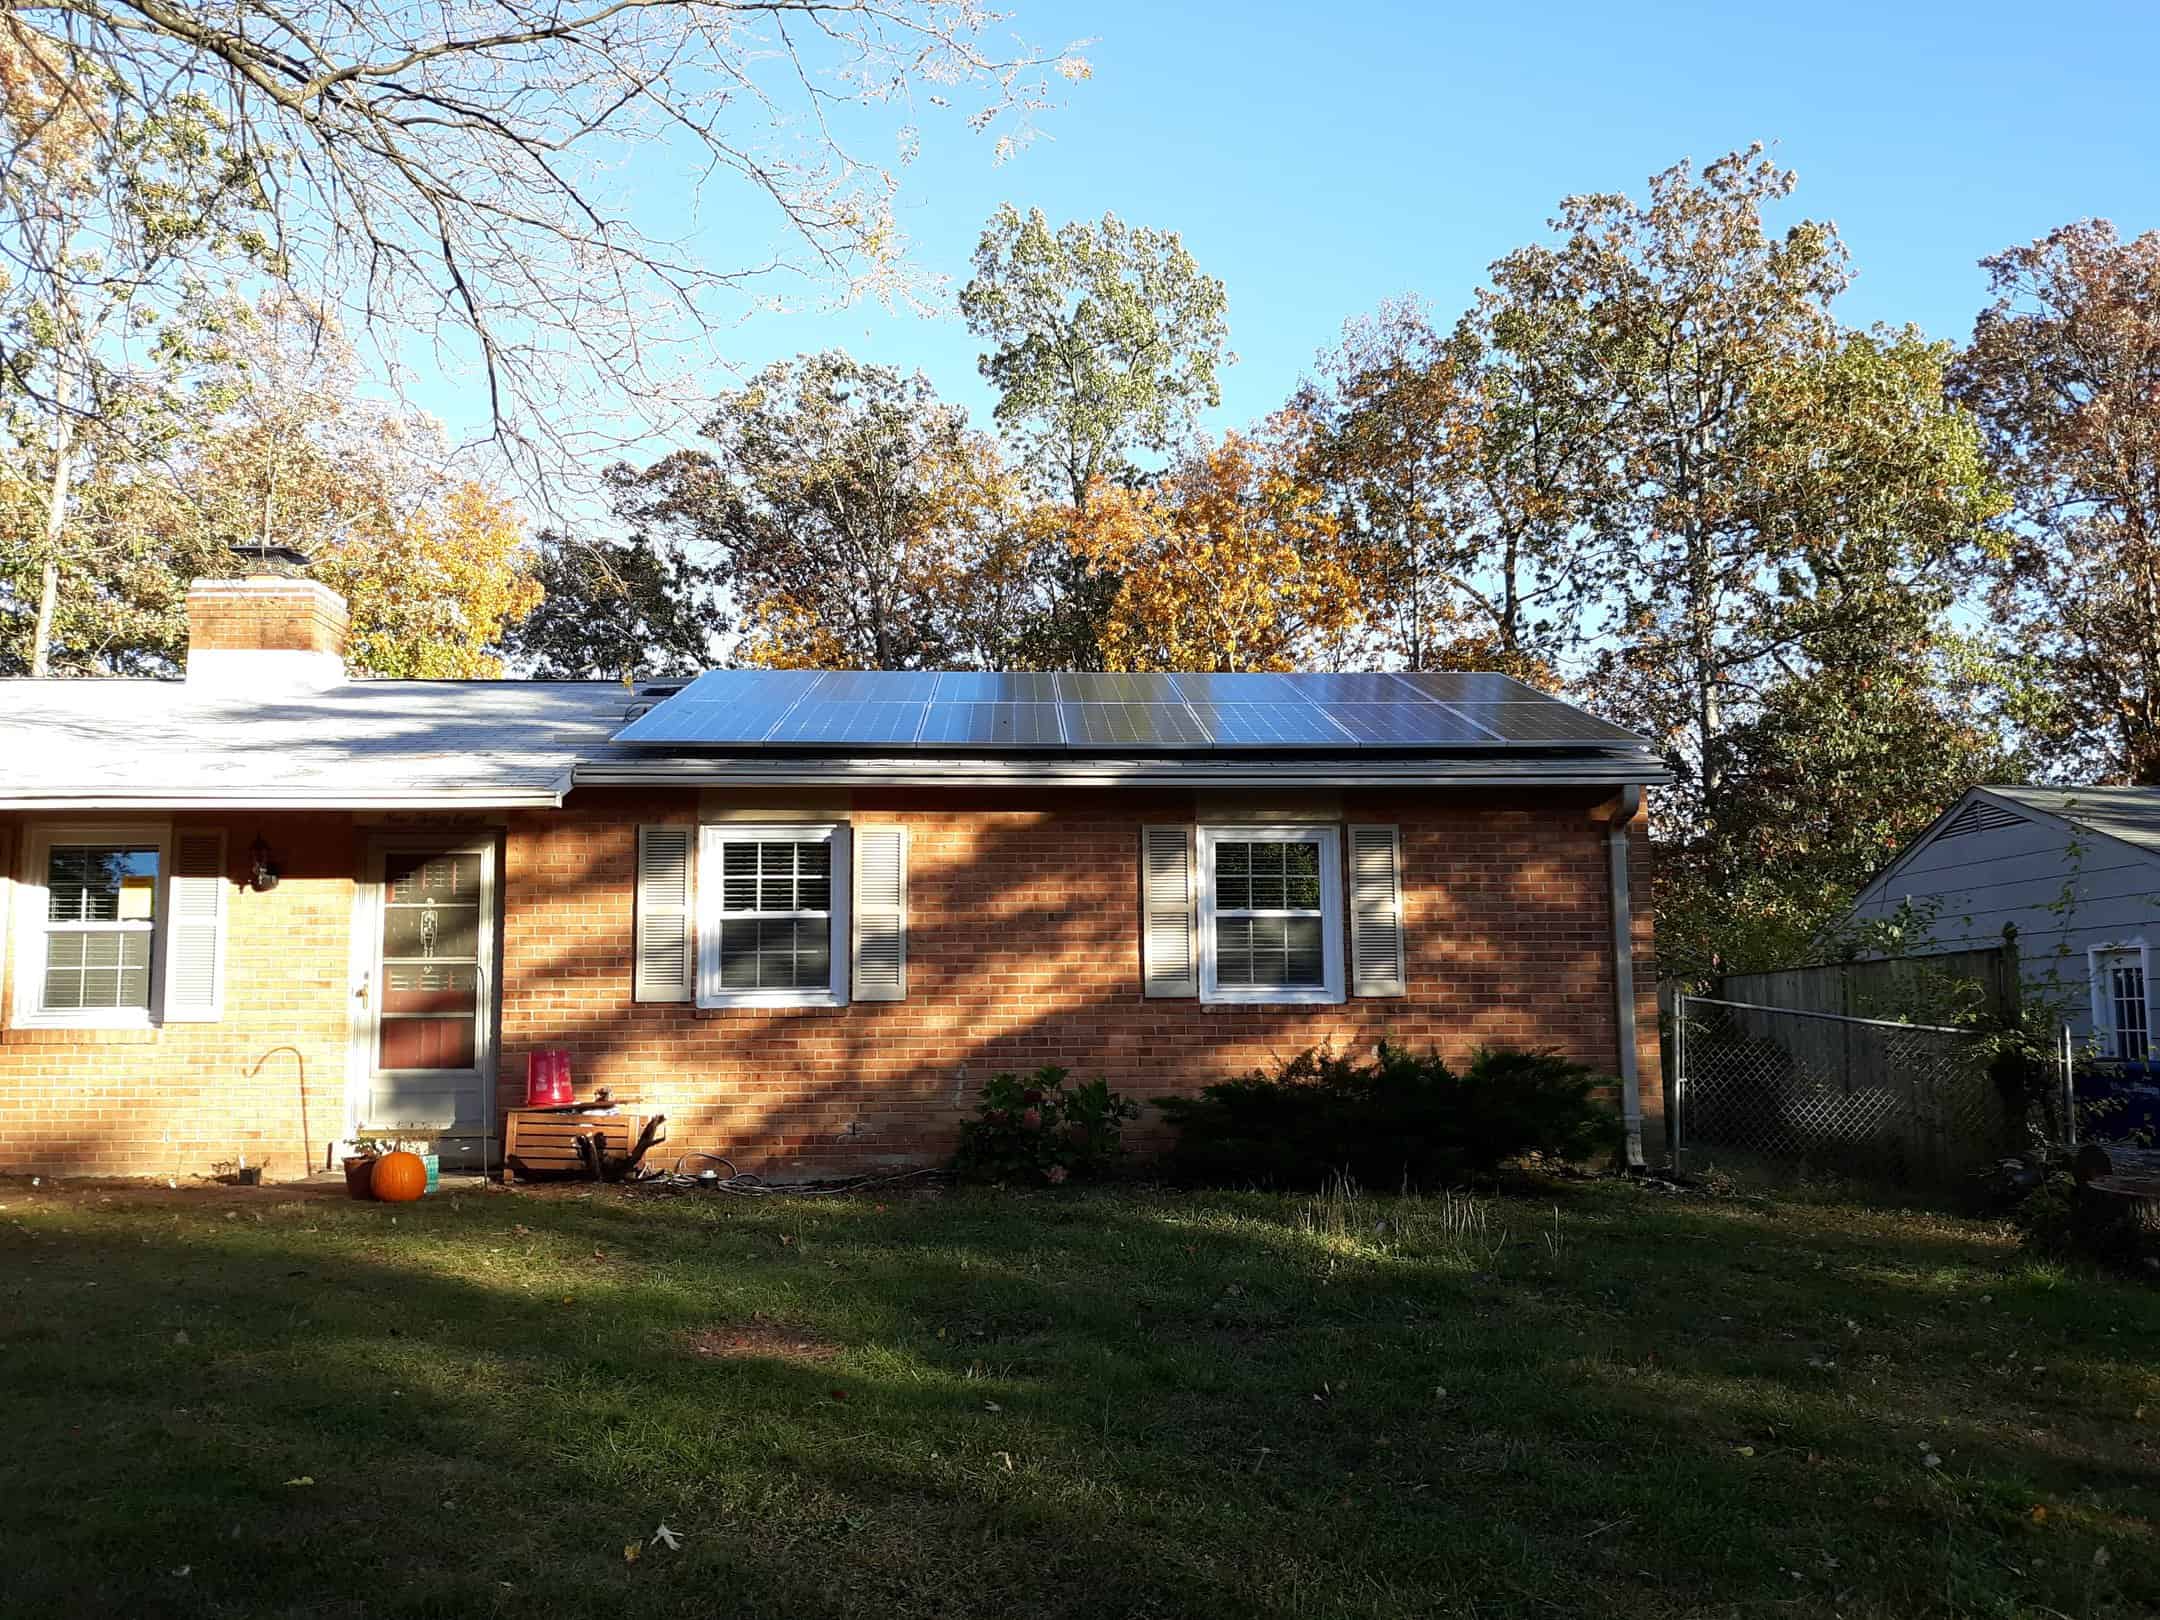
Can you believe it’s already time for our December Install of the Month? To cap off the year, we chose a really great DIY installation: Martin S.’s grid-tied solar system that he mounted on his roof.
Martin’s project is really special because it took some doing. He had quite a few curveballs along the way to deciding to go the DIY route, but once he did his homework, the decision became obvious. Martin became interested in adding solar to his suburban California home simply because it made sense. His roof space, combined with all of California’s sunny days and the allure of not having to pay the utility company their ever-rising rates, had him asking himself why he hadn’t gone solar yet.
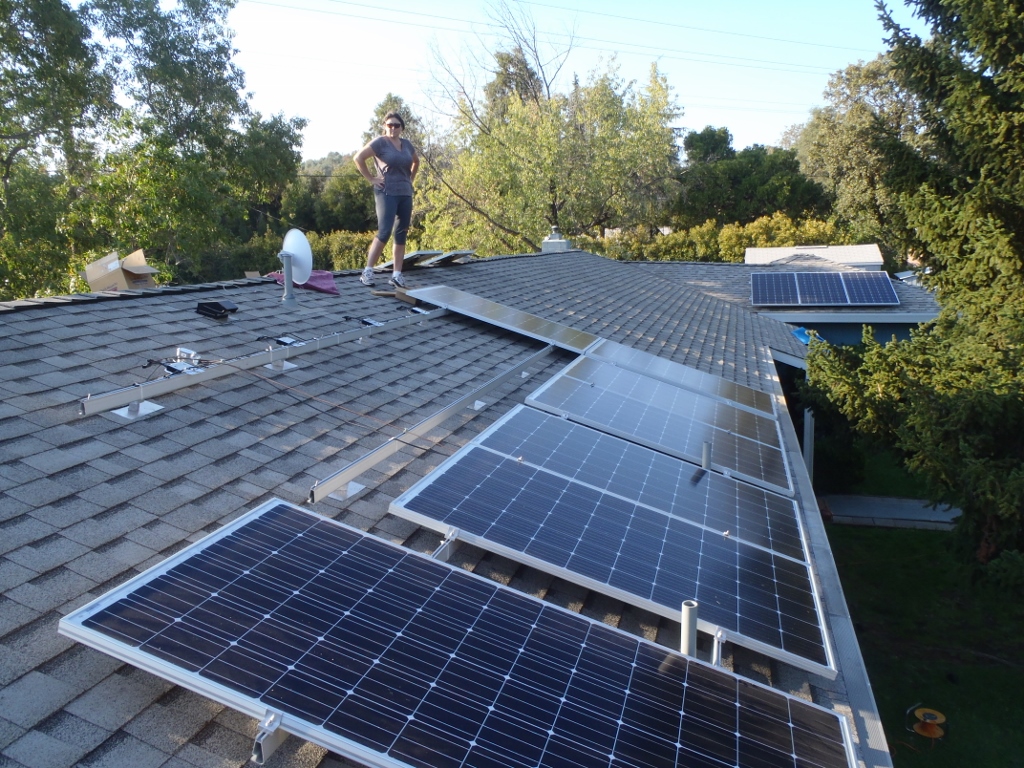
Like many people, Martin’s first instinct was to contact a local contractor to install his system. Despite having some home improvement-related DIY experience under his belt, he considered the project too risky to do himself because of the scope of the project. It seemed like a lot to tackle, considering he wanted four solar arrays to get the most out of his roof space! But when he contacted a local installer, he learned that before he could add solar, his roof was due for a lot of work. In fact, if he added solar now, he’d end up just having to uninstall it within a year. And so replacing the roof became a prerequisite for solar. After the cost of the roof work, he was over budget for his solar project.
Martin was considering what to do next when a friend suggested he go the DIY route with a company he recommended called Unbound Solar. Still unsure of whether or not DIY was even possible for his goals, he decided to take his friend’s advice and did a little research. “After watching the videos and reading the reviews on their website, it didn’t seem so daunting anymore,” Martin said. So he decided to take the next step, and called us up for a free quote. And once he saw the quote, he was convinced: DIY was the way to go. “I never looked back,” Martin revealed. “Best decision ever!”
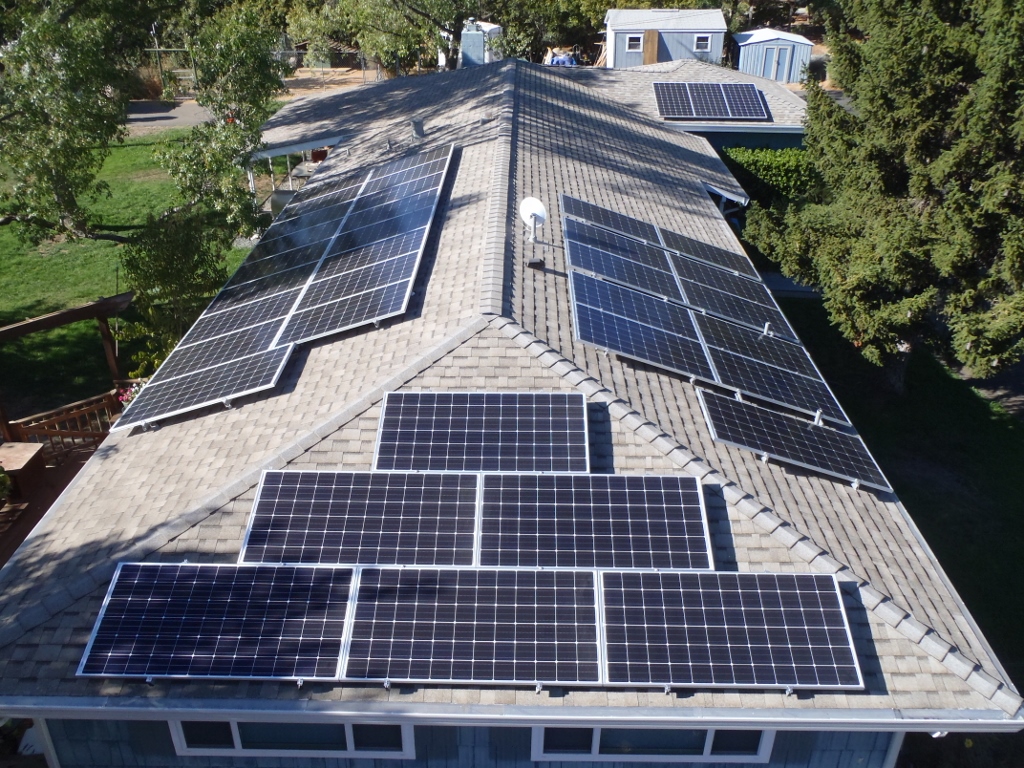
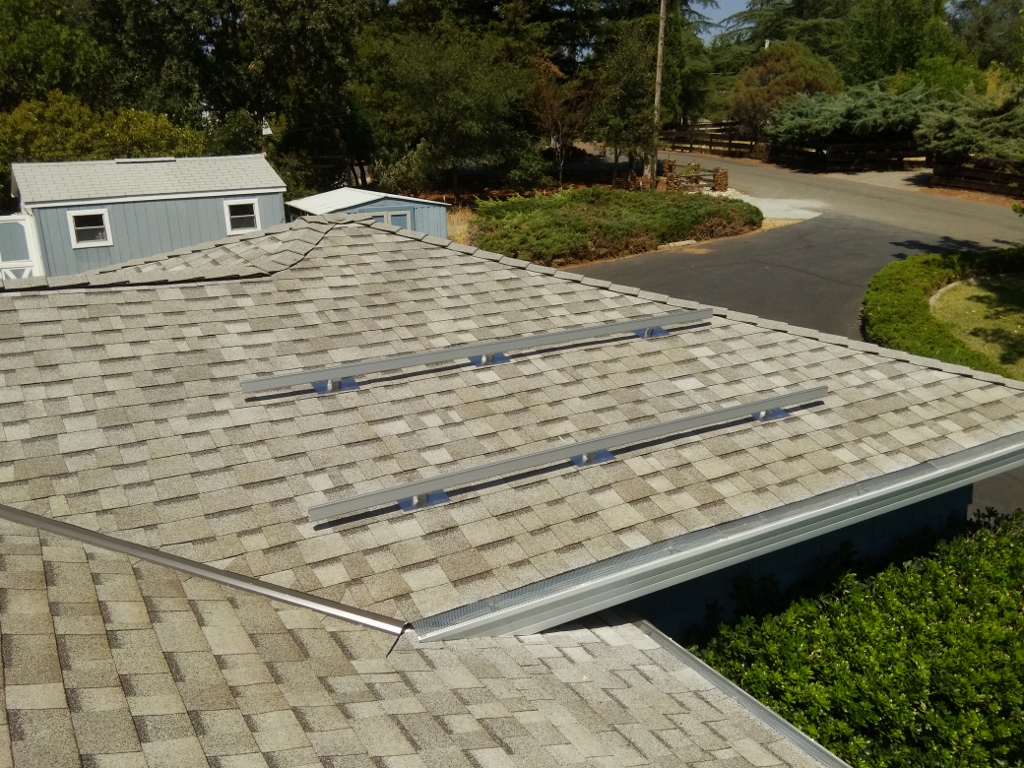
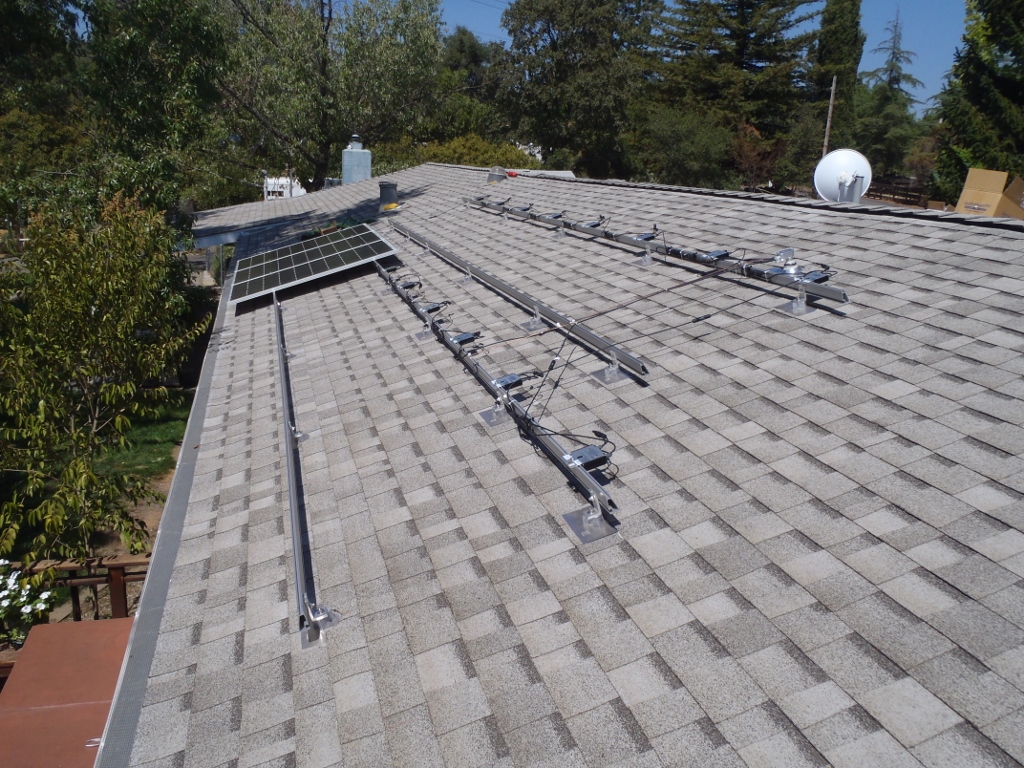
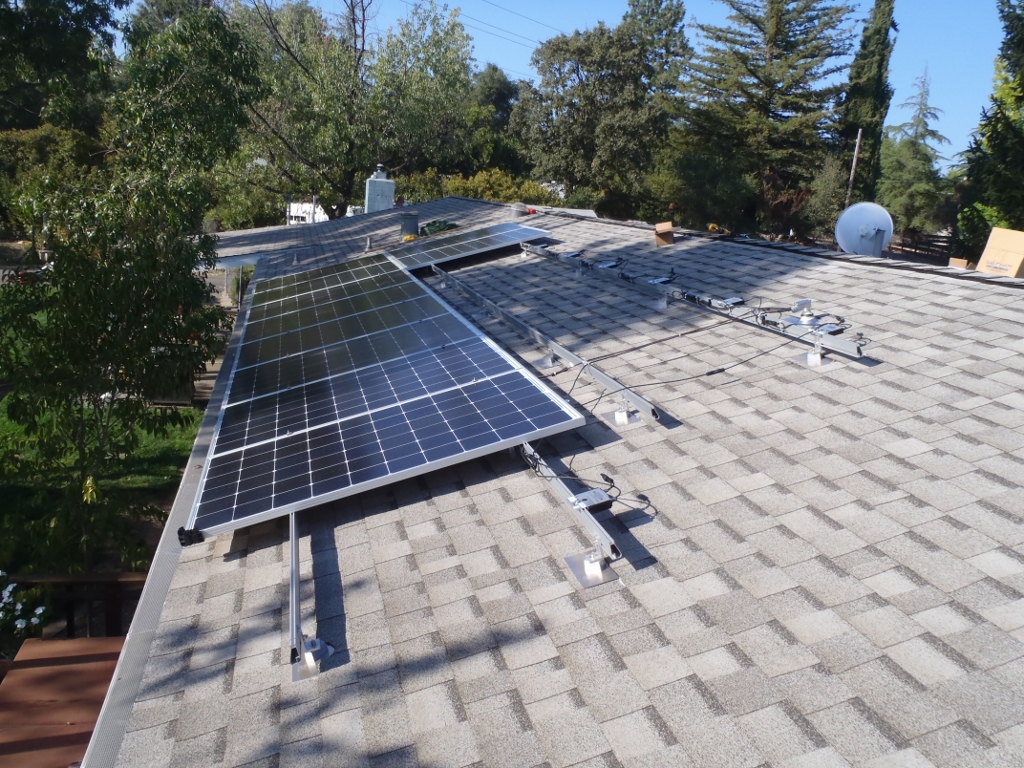
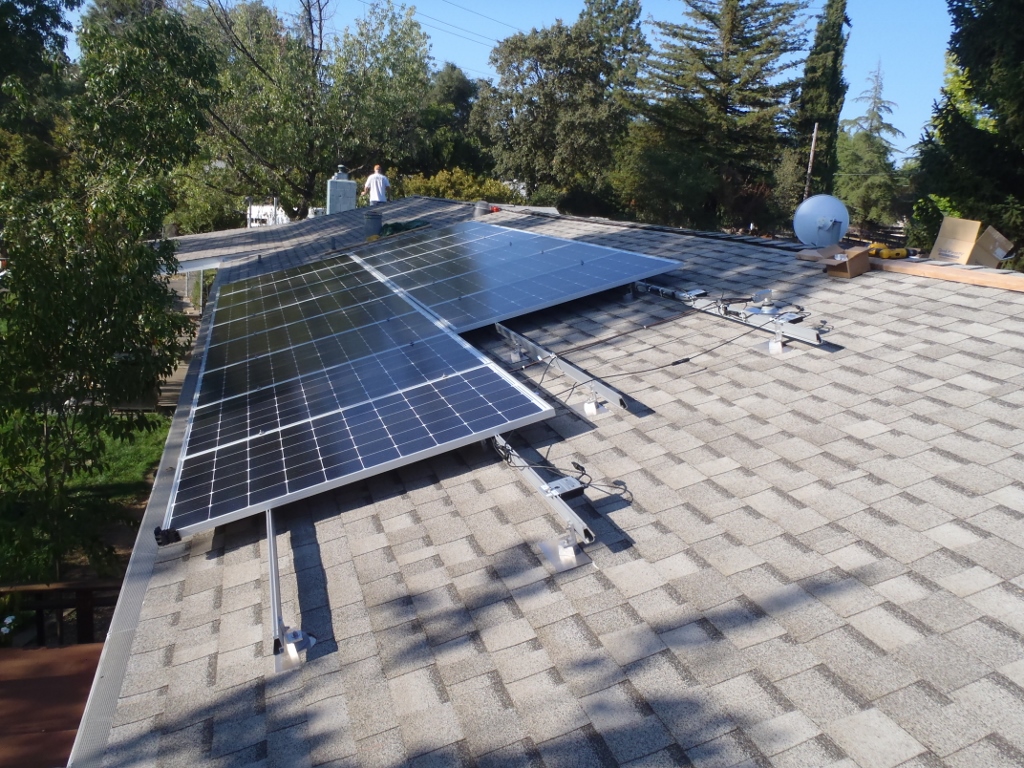
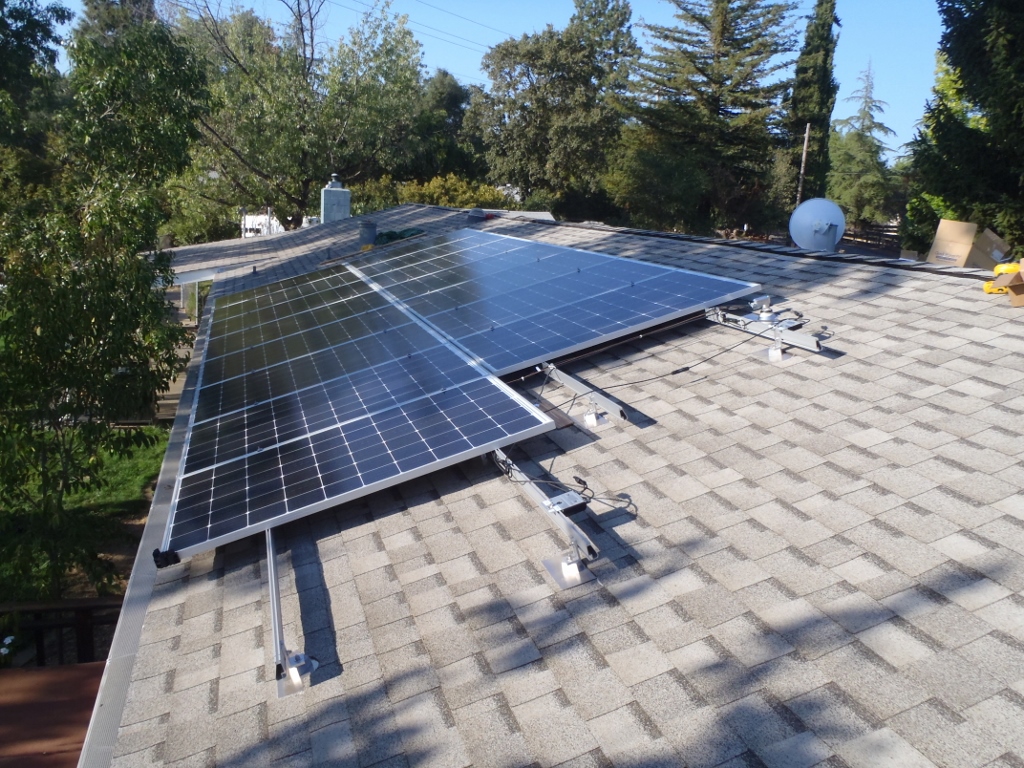
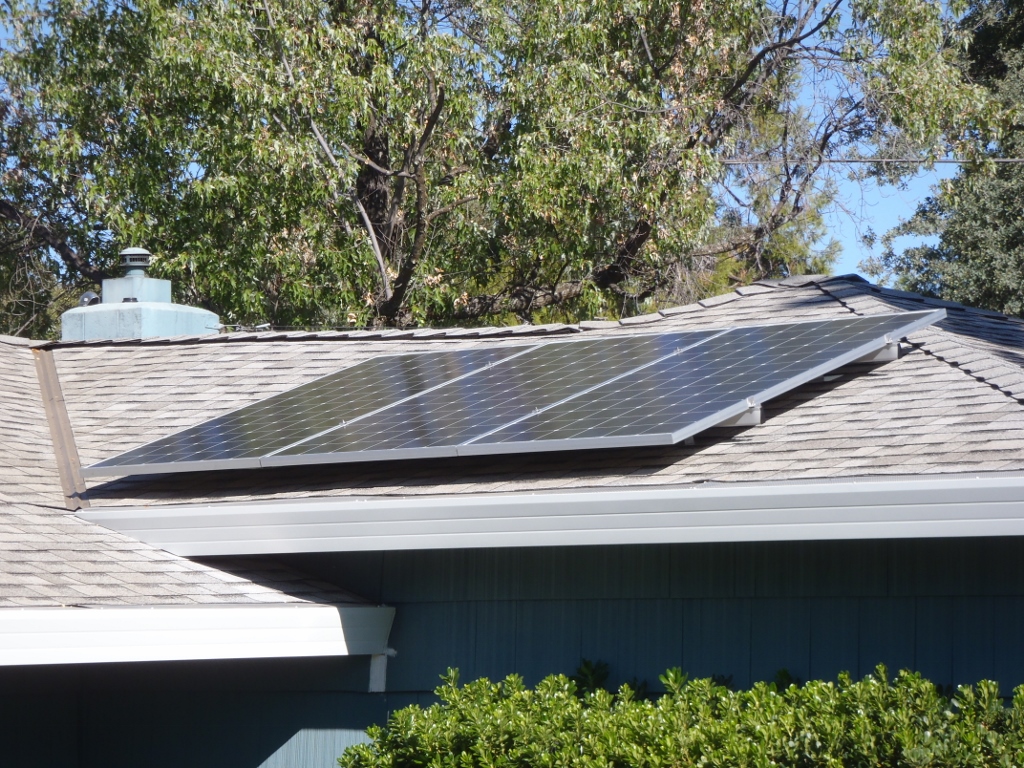
The upsides to going the DIY route soon became very clear. Not only would it be a much lower cost to install his system himself, Martin says “I honestly think we ended up with a better system than what professional installers would have been willing to provide, just because we took the time to maximize the use of south-facing roof slopes and unshaded areas of our roof.” Not only was the layout optimized under sales tech Jeremy A’s expert guidance, but since it took four separate panel arrays, Martin suspected that “The professional installers probably would have balked at that effort.” Even Jeremy admitted, “There was a learning curve for everyone involved.” But working together, they figured out a great layout.
“Jeremy went the extra mile, answering countless emails before I was ready to place my order,” said Martin. After the planning phase was complete and all of Martin’s equipment was shipped to him, it was time to actually install the system. And although Martin was doing it himself, he wasn’t alone.
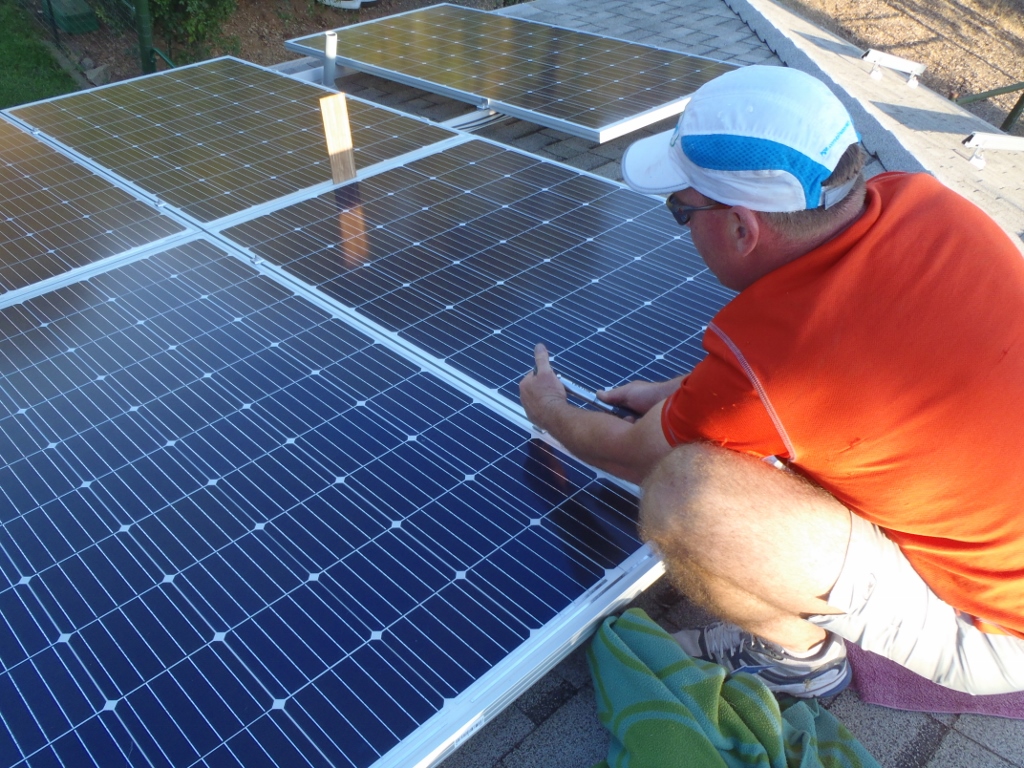
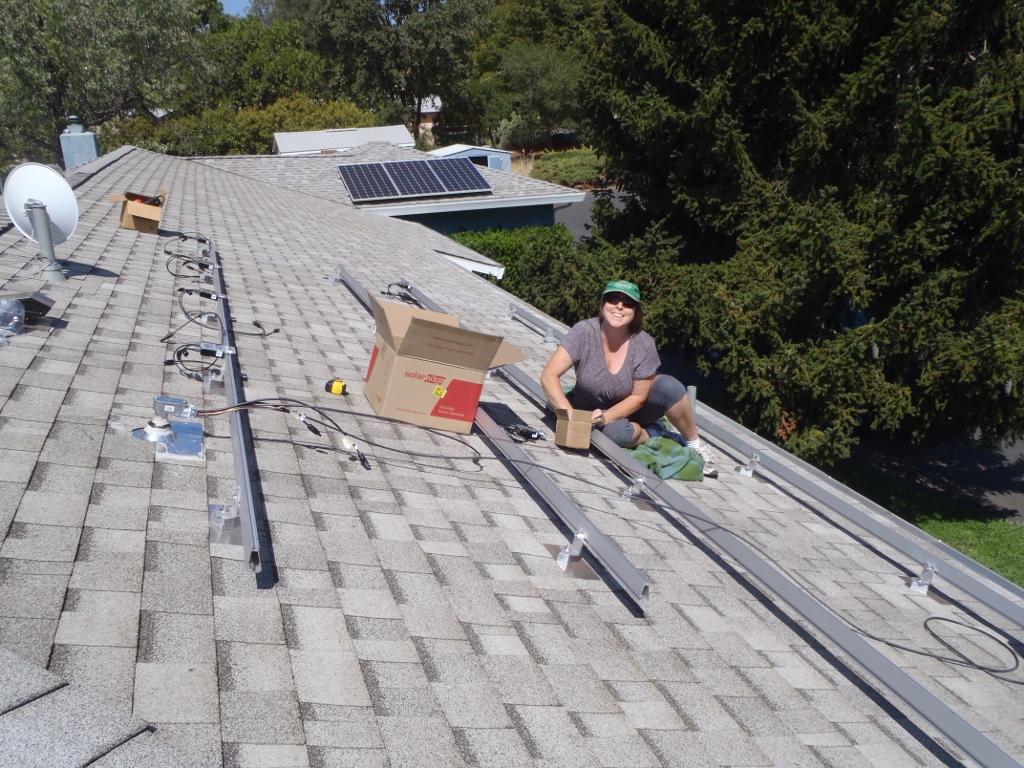
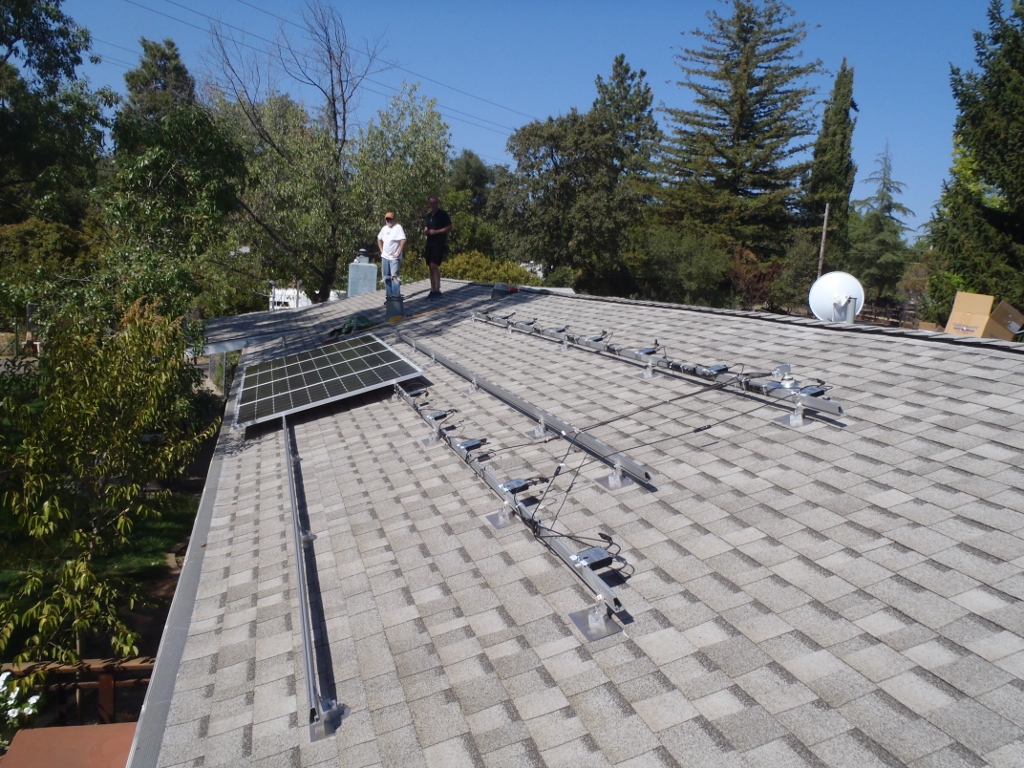
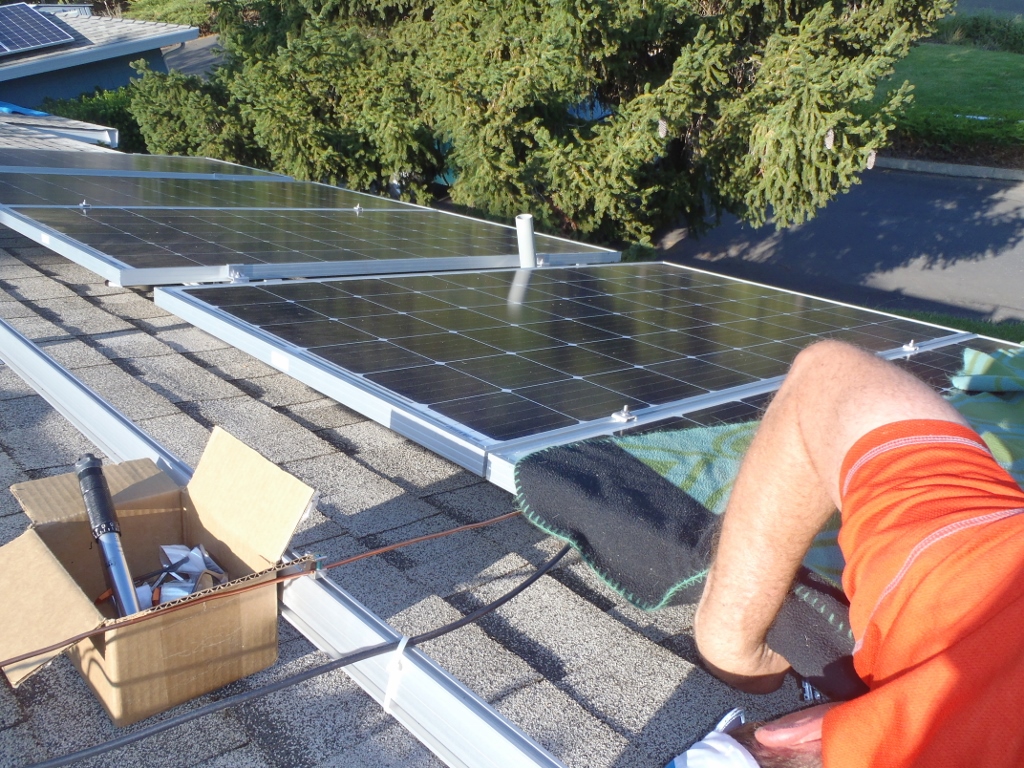
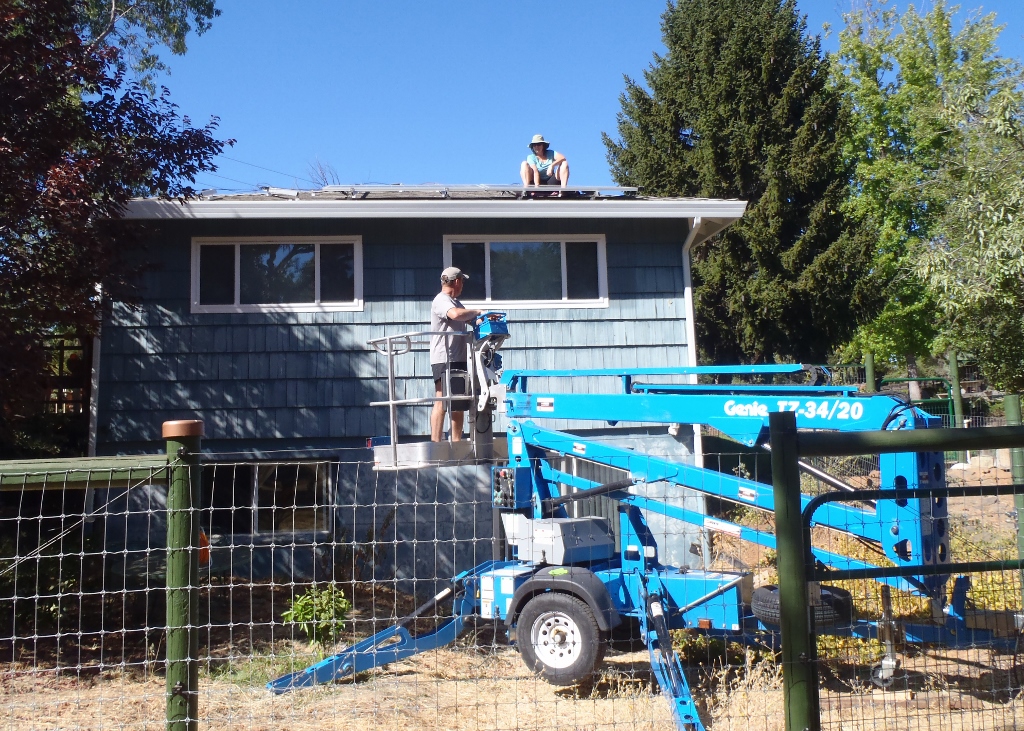
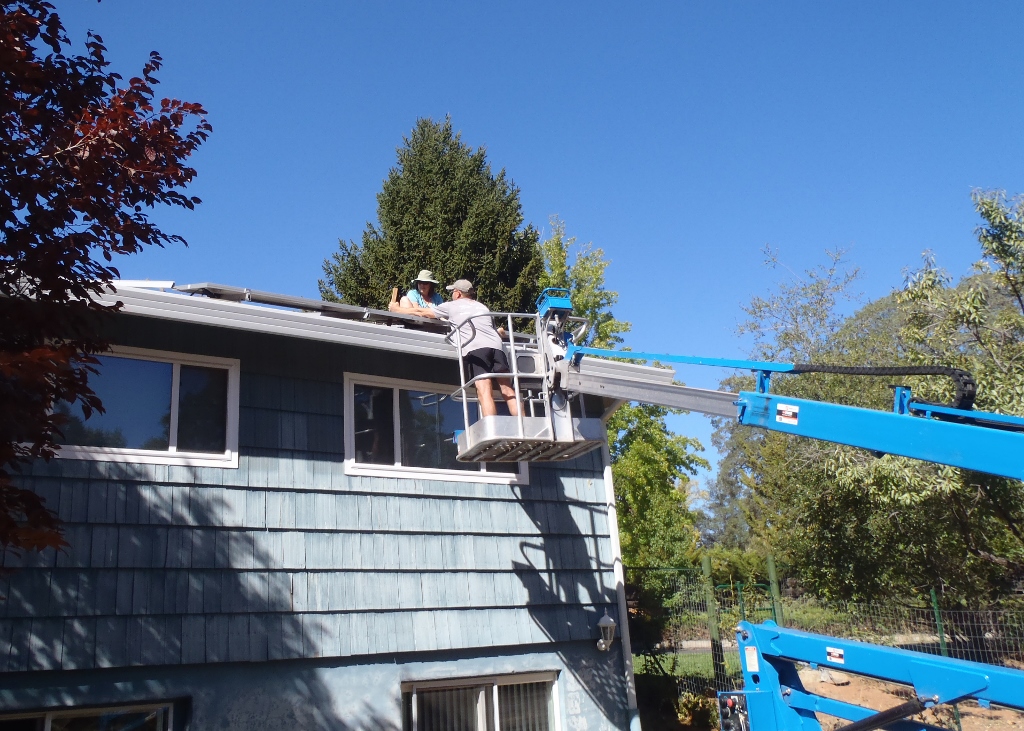
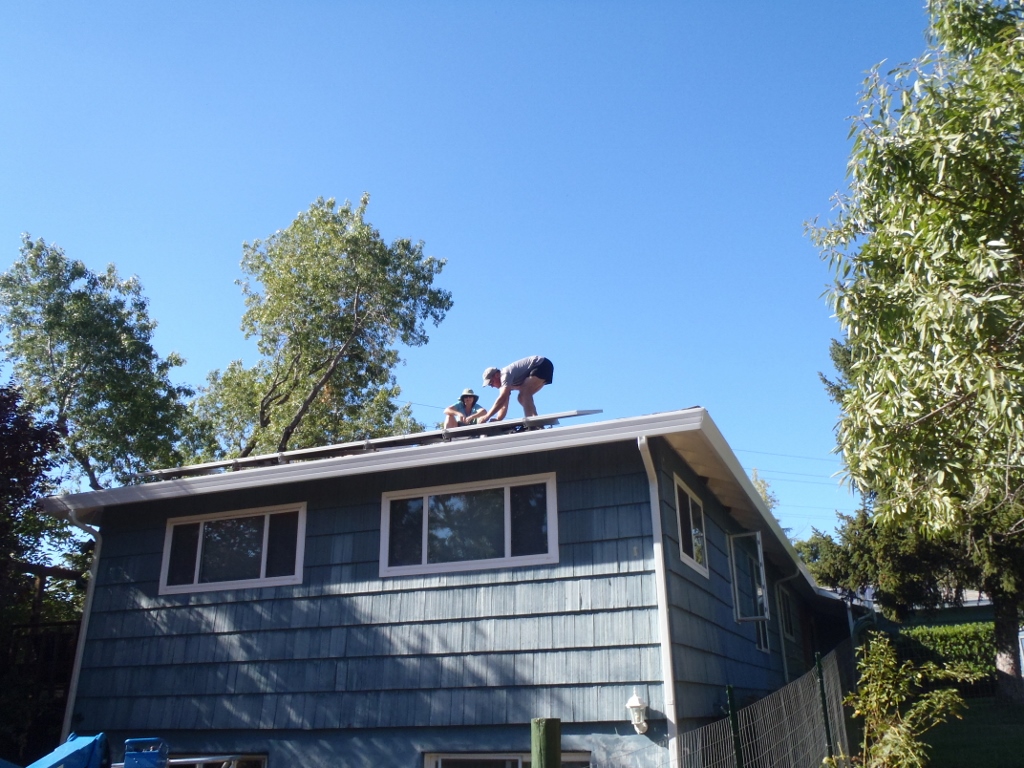
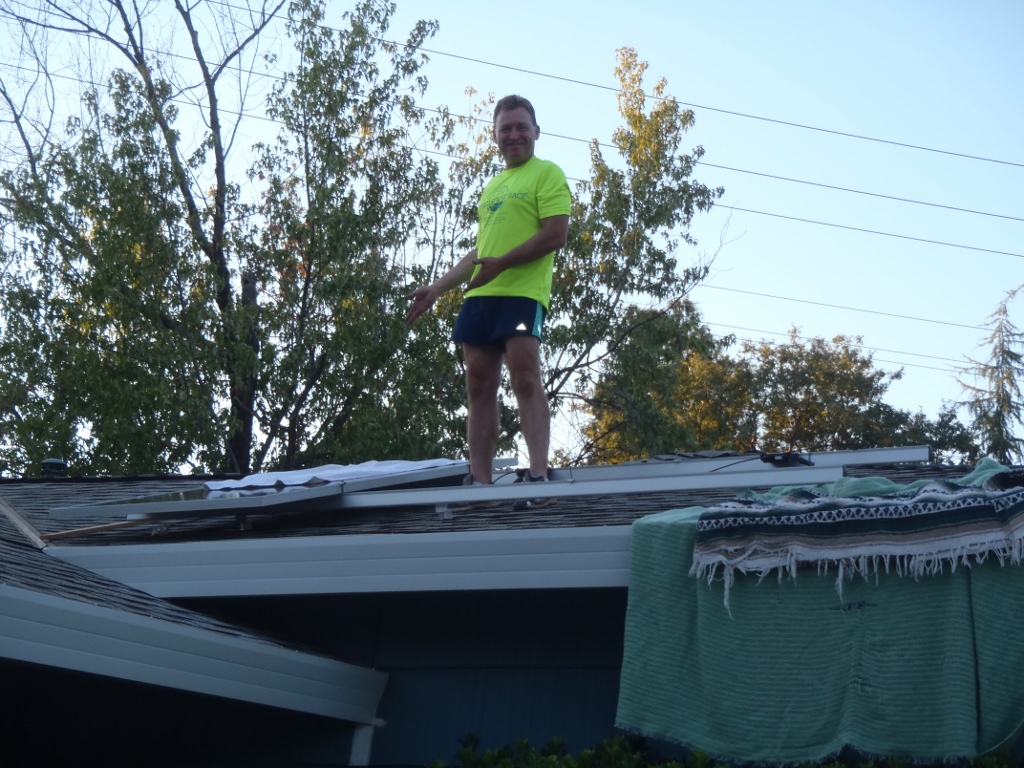
“Jeremy continued to provide invaluable advice every step of the way throughout the whole process,” Martin shared. Martin worked on weekends to get the initial prep work done, but when he was finally ready to install all 37 panels, he had a little help from his wife and a friend. Together, they got the four panel arrays installed in just four days! So, was going DIY worth it? Just ask Martin:
“There is nothing more satisfying than powering up a system that you completely installed yourself and then watch as your electric meter runs backwards for the first time!” – Martin S.
Interview with Martin S.
How long was the full installation process from receiving your equipment to flipping the switch? How many people did it take?
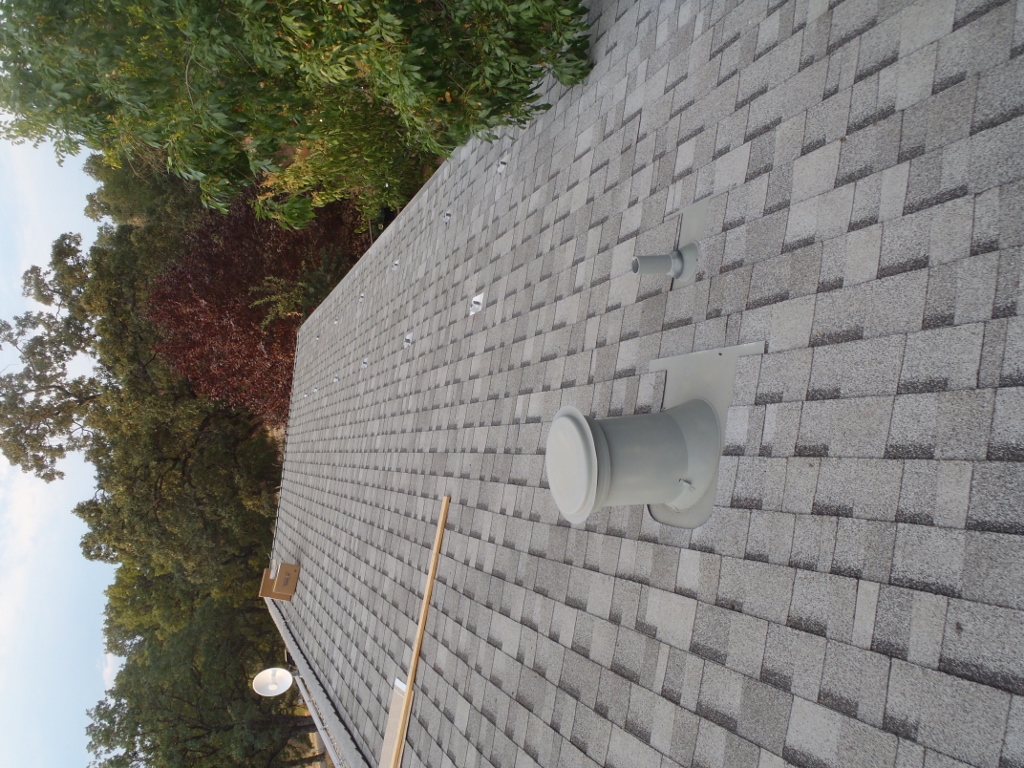
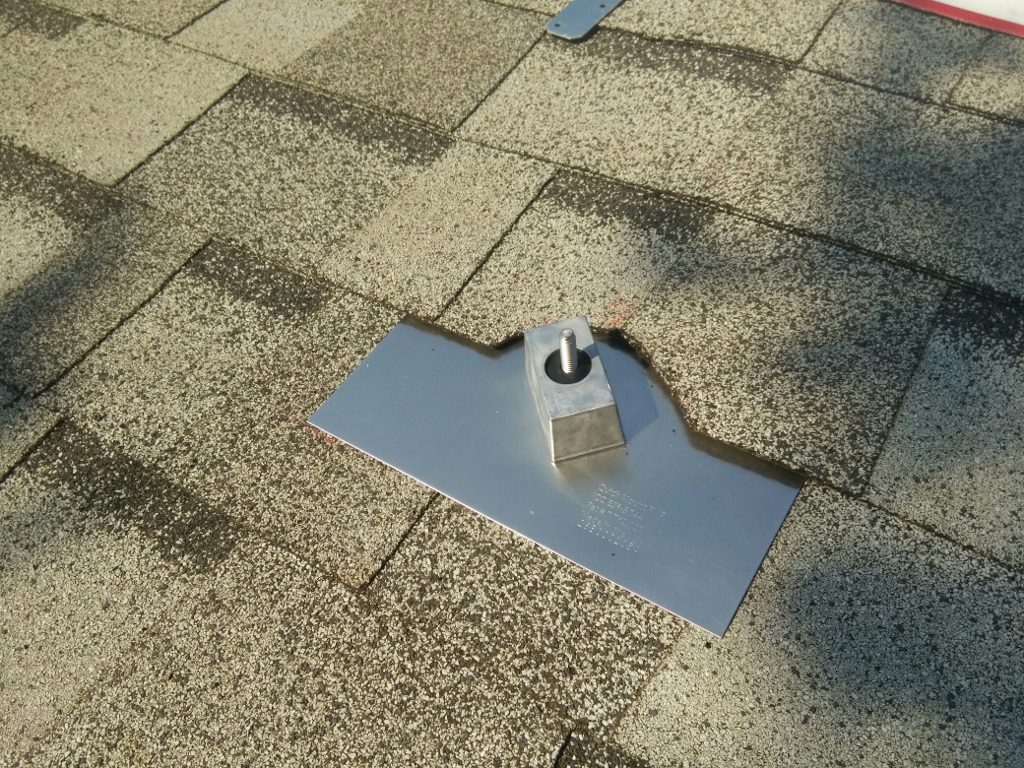
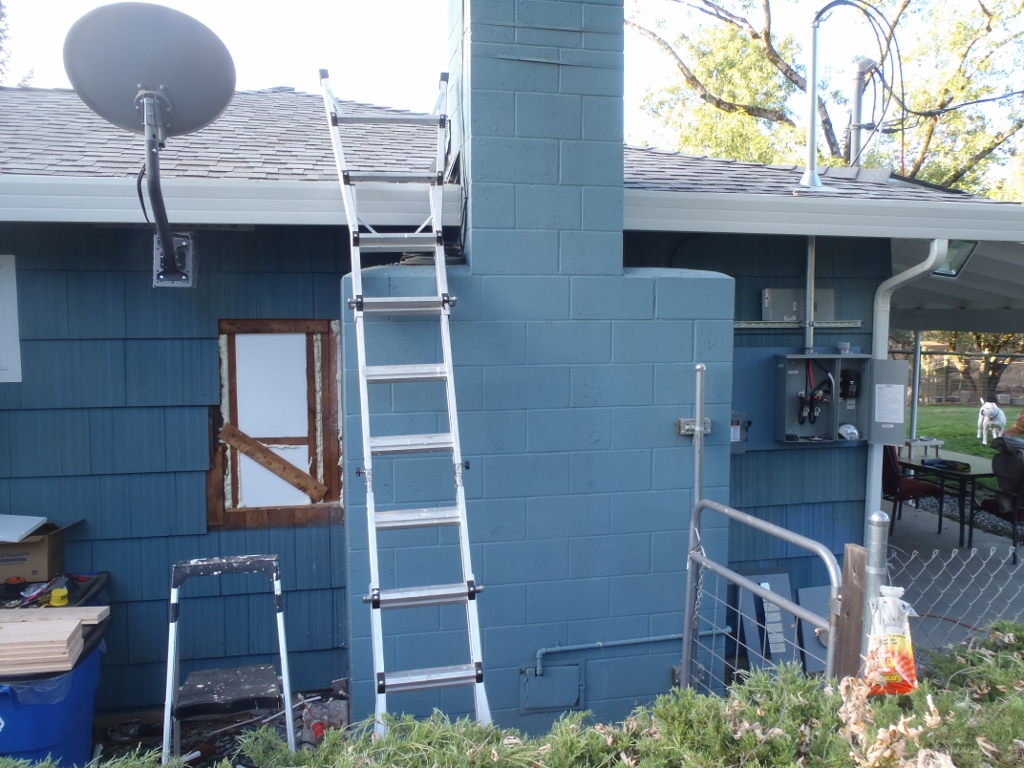
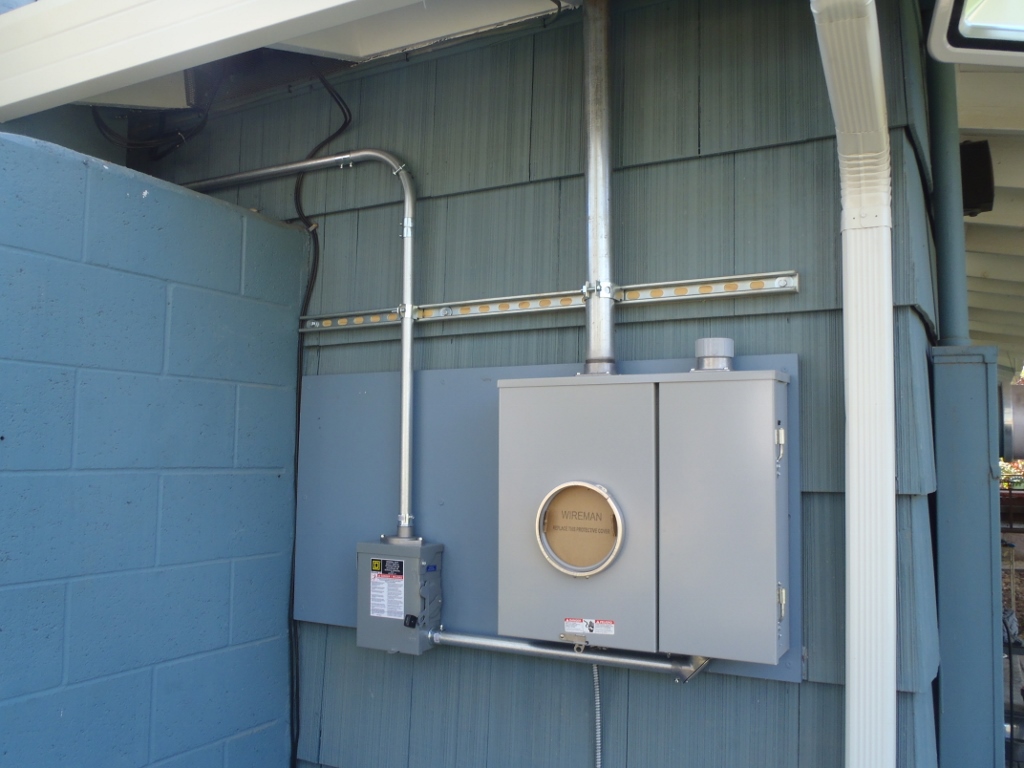
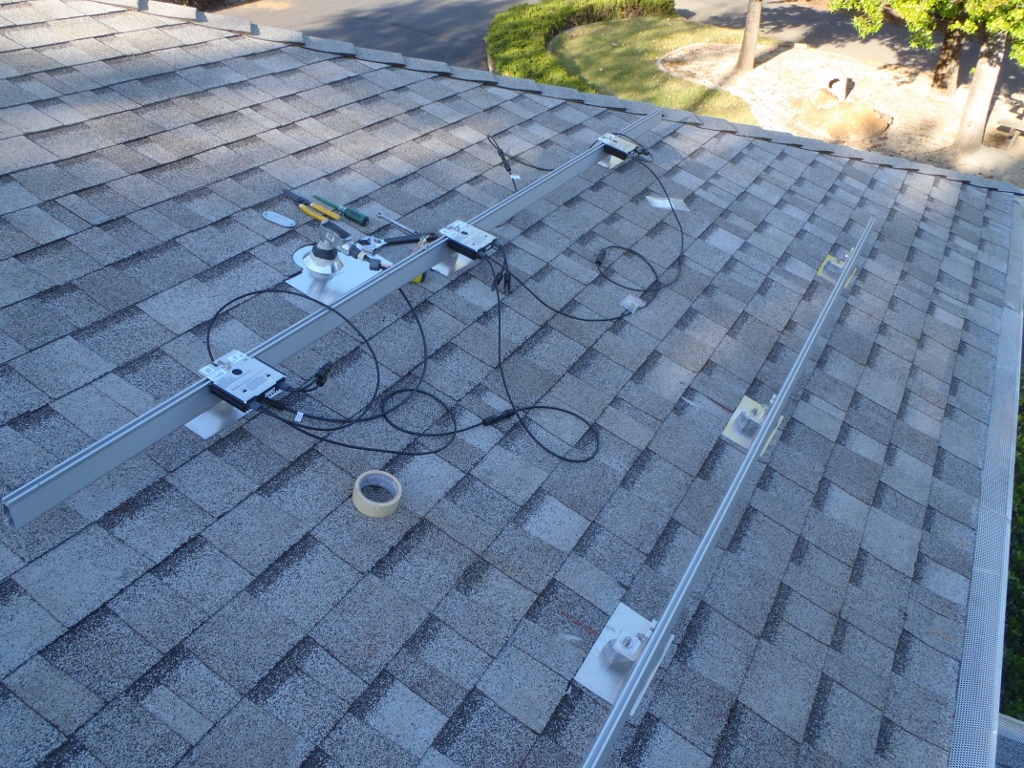
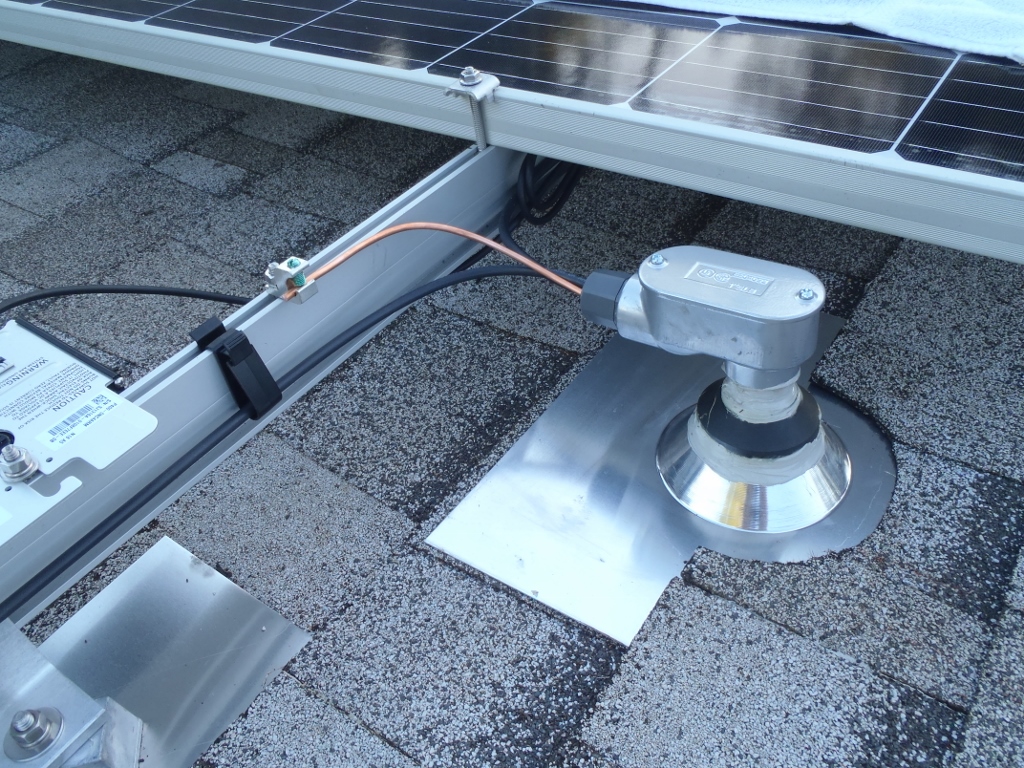
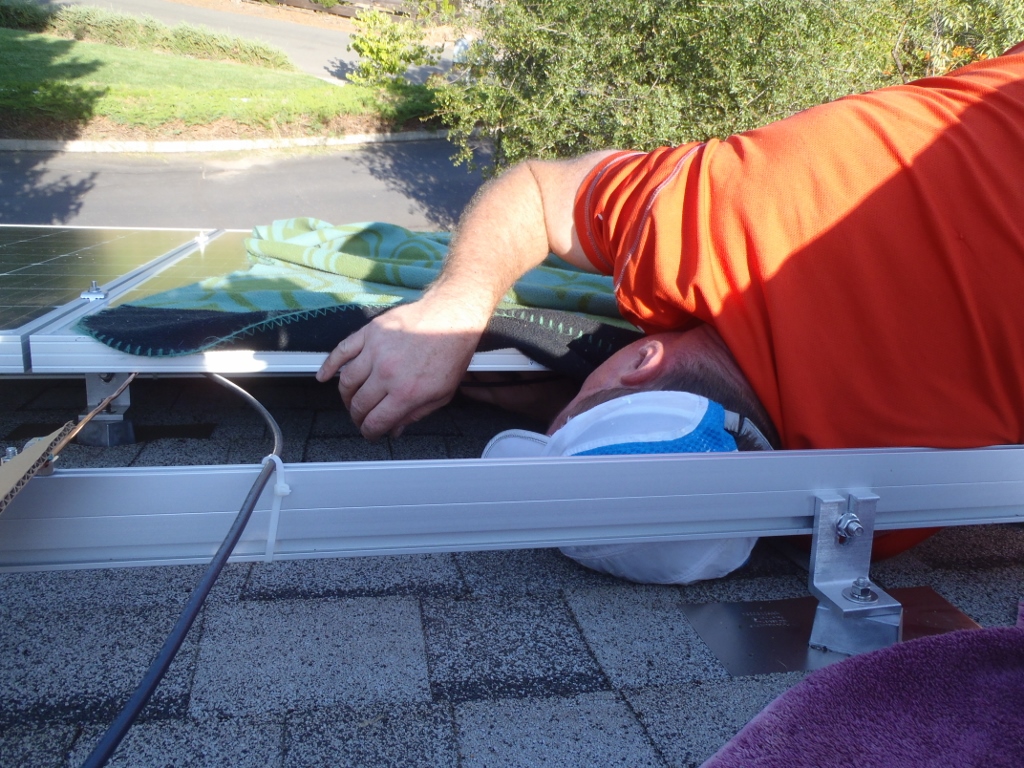
The progress was slow on my installation since I was only able to work weekends. It took me eight weeks from the time I took delivery of the parts to flipping the switch on our system. Of those eight weeks, the final two were mainly jumping through hoops for the building department and the power company. This was because my install included a utility service change that required some adjustments and reinspection. Aside from that, most of the time went into the nitty-gritty prep work. Before my system could go in, I had to install the mounts. That included finding rafters, separating shingles, and pulling nails. I had to do conduit penetrations, run the conduit inside the attic, and make structural provisions to hang the 88 pound inverter, and so on. The 37 panels went up within just four days because I had two helpers: my wife and a friend of mine. The rest I did by myself with Jeremy’s invaluable remote assistance.
Did you have any previous construction experience?
I’ve done several DIY projects in the past: my kitchen and bathrooms, flooring, radiant heat, building fences. I’m also pretty comfortable with electrical work. But I was new to solar and Jeremy’s advice was definitely much needed and appreciated!
What was the most confusing or difficult part of the installation?
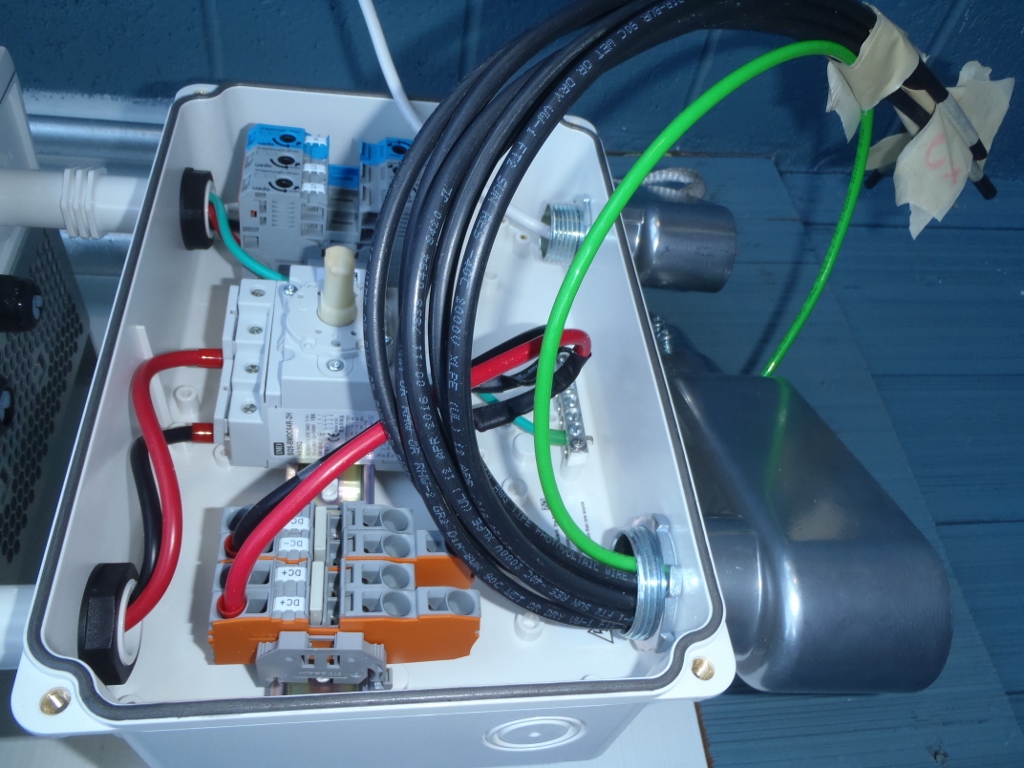
I’d say the most difficult part was the planning process, before I ever even placed the order. It took several revisions of our panel layout before we settled on the final design. Our ranch-style house is oriented in a north-south direction with limited south-facing roof space. Since south-facing is the most energy efficient, I definitely wanted to pack that roof area with as many panels as possible. On top of planning that, to be able to get sign-off on my setbacks from the fire department, I had to use two different panel sizes. Once that was done and I got my building permit, I placed the order and Unbound Solar made sure all the required parts were included: the brackets, screws, fittings, end caps, and so on. I only had to order two minor additional things during the project: some conduit penetration flashings since I had misplaced mine, and one additional MC4 cable since I had changed the panel grouping from our initial design. In terms of labor, I think the hardest work was preparing my roof for the installation of about 65 PV mounts. We had just recently gotten our roof redone, and those new shingles really stuck together like they never wanted to come apart! I found that it actually went easier the hotter it was. But of course, working on the roof in the heat of the day does take its toll on the installer! Lastly, I think I had the most fun with the cabling and electrical connections. Luckily, or maybe due to thorough planning, everything worked as planned. After we had the green light from the building inspector, all we had to do to activate the system was follow the SolarEdge manual. And a half hour later we were watching the meter run backwards. Fun!
Were there any unforeseen additional parts or tools you needed?
I did buy a high-end wall scanner, a Bosch D-Tect150. Street price is around seven or eight hundred dollars, but I found one for about half that on eBay. It really came in handy for locating the position of the rafters through the roof shingles and sheathing. I just didn’t feel comfortable with the proposed test drilling that some of the installation videos mentioned. Especially not in a brand new roof. Sure, the flashing would cover them up, but it felt better to avoid guesswork. With the help of the D-Tect150, I only missed one rafter on all 65 PV mounts! Of course, there were other parts, like conduit, caulking, and everything to get the solar power from the inverter to my breaker box. But none of that was a surprise.
How/Why did you choose to self-install?
It all started with a brief conversation with a sales rep from a large solar company at our local hardware store. After having them over at our house and listening to their pitch, I did some more research and quickly realized that their “low price per kilowatt hour” proposal, a proposal in which I would not actually own the system, was not for us. I got four more quotes for an installed system and arranged for a second mortgage to pay for it. We were ready to pull the trigger with a local installer, when a roofer explained to me that we have maybe one more year left, at most, in the life of our shingles before they’d start leaking. That would mean I’d end up removing my solar system to redo the roof. That’s how the roof became a prerequisite for the solar installation. During the re-roofing project, we discovered significant damage to the sheathing perimeter and about half of the rafter tails. And just like that, we blew right through the initial roofing estimate by several thousand dollars. Now we didn’t have enough line of credit on my HELOC and couldn’t afford buying the solar system from the chosen installer. And that’s when the idea of DIY became very interesting. Knowing what I know now, I would still do it myself even if we didn’t have to replace the roof. “Knowing what I know now, I would still do it myself even if we didn’t have to replace the roof.” – Martin S.
What was your primary reason for adding solar to your home?
It just makes sense. Especially with as many sunny days as we get here in California. Why continue to pay the utility company with their ever-rising rates, if you can use the same money to pay off a solar system in about a quarter or a third of the expected life span of the system?
It’s Your Turn
Download your free Getting Started With Solar guide and conquer your solar project! We’ll help you navigate the permitting process, choose high-quality products, claim valuable state and federal tax incentives, and save money on installation costs.

Continue Reading
Install of the Month – August 2016
- System Size: 3.9 kW
- Yearly System Output: 6,479 kWh per year
- Federal Tax Incentive: Qualifies for $1,771 Federal tax credit
- Utility Rates: 13 cents/kWh
Jonathan K.’s Solar Installation
- System Cost: ~$20,000 including installation
- Yearly System Output: 12,041 kWh per year
- Federal Tax Incentive: Qualifies for $6,000 U.S. Federal Tax Credit